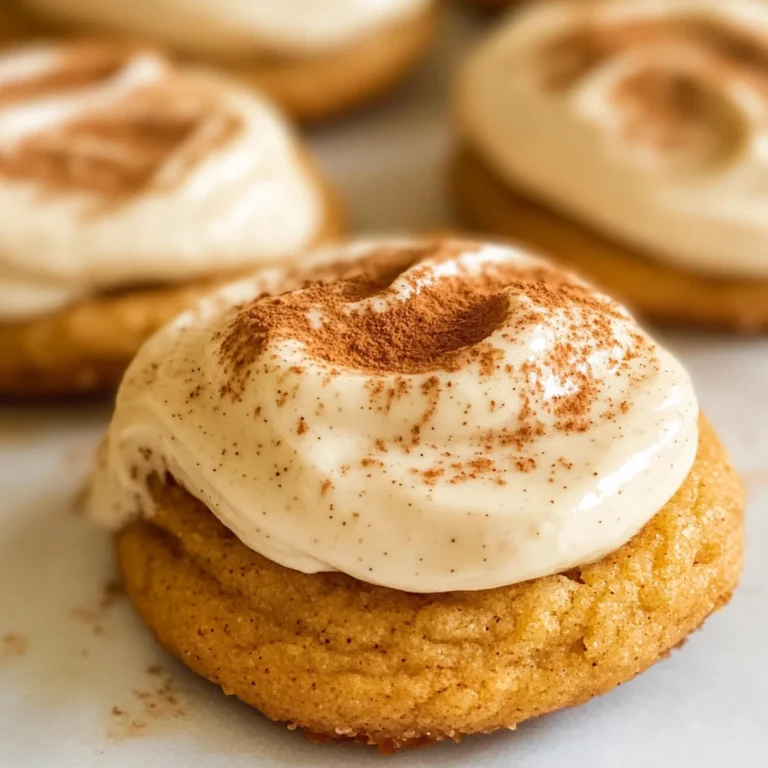
Pumpkin Crisp
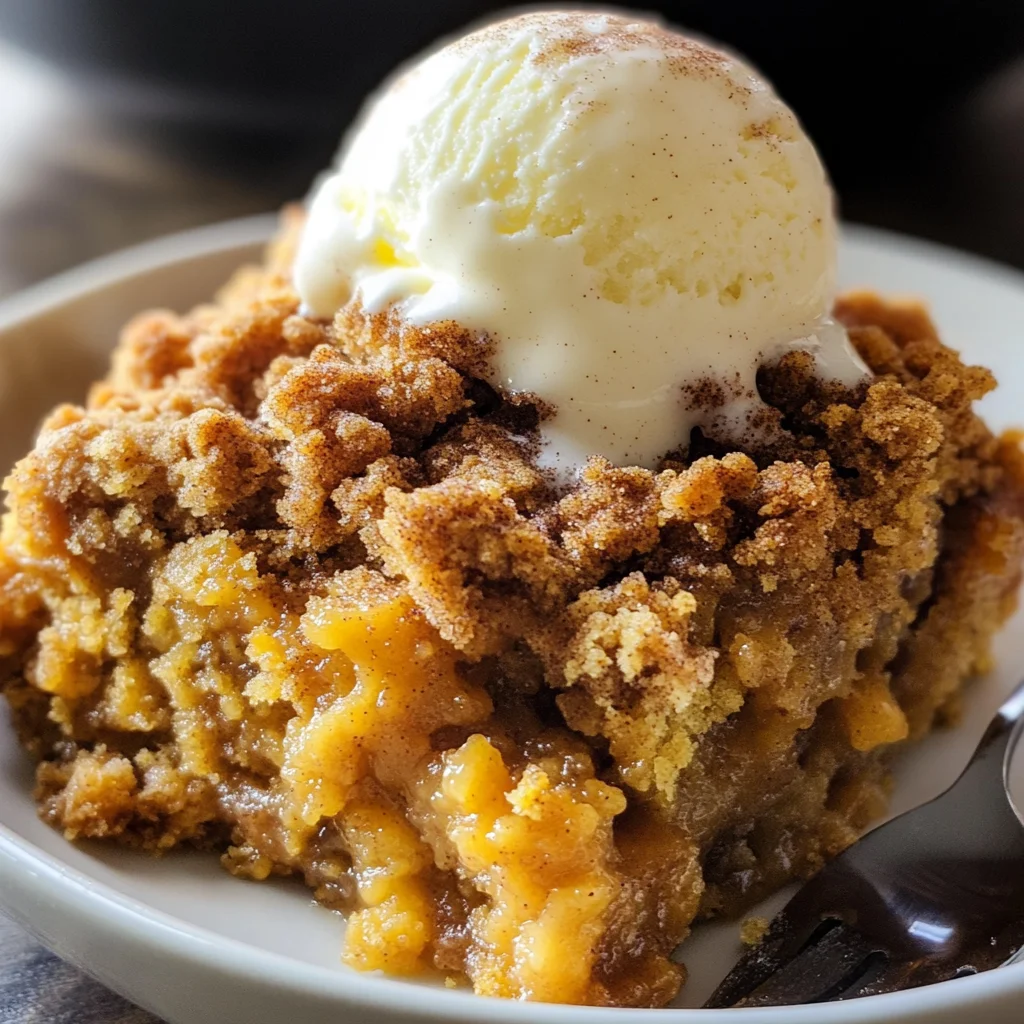
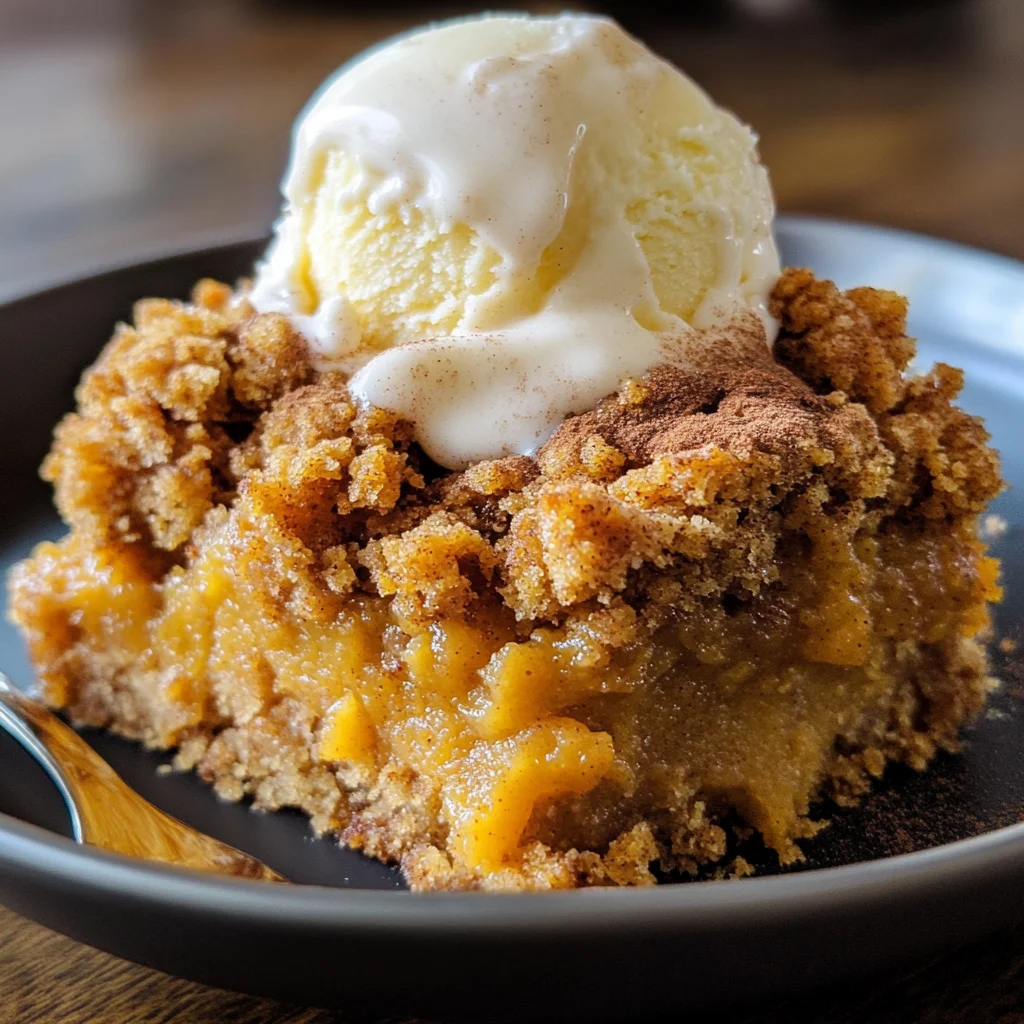
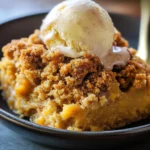
This Pumpkin Crisp is an irresistible fall dessert that combines creamy pumpkin pie filling with a delightful cinnamon streusel topping. Perfect for gatherings, holidays, or a cozy night in, this dish offers the warm flavors of pumpkin spice that everyone loves. It’s easy to make and even easier to enjoy, especially when served warm with a scoop of ice cream. You’ll find that this Pumpkin Crisp becomes your go-to recipe for celebrating the season!
Why You’ll Love This Recipe
- Easy to Prepare: With just a few simple steps, you can whip up this delicious dessert in under an hour.
- Delicious Flavor: The combination of creamy pumpkin filling and crunchy cinnamon topping creates a unique taste that will impress your guests.
- Versatile Serving Options: Serve it warm with ice cream, whipped cream, or even on its own for a satisfying treat.
- Perfect for Fall: Embrace the essence of autumn with the warm spices that define this classic dessert.
- Family-Friendly: Kids and adults alike will love digging into this comforting dish.
Tools and Preparation
To make your Pumpkin Crisp successfully, you’ll need some basic kitchen tools. These items will help you achieve the perfect texture and flavor.
Essential Tools and Equipment
- 12-inch cast iron skillet or medium casserole dish
- Large mixing bowl
- Medium mixing bowl
- Whisk
- Fork or hand mixer
Importance of Each Tool
- Cast Iron Skillet: Provides even heat distribution for perfectly baked dessert.
- Mixing Bowls: Essential for combining ingredients smoothly without spills.
- Whisk: Helps incorporate air into the pumpkin mixture, making it fluffy.
- Fork or Hand Mixer: Useful for creating a crumbly streusel topping effortlessly.
Ingredients
For the Pumpkin Filling
- 1 (15 oz) can pumpkin puree
- 1 cup granulated sugar
- 3 large eggs
- 2 teaspoons pumpkin pie spice
- 1/2 teaspoon salt
- 2 teaspoons vanilla extract
- 2/3 cup heavy cream
For the Cinnamon Streusel Topping
- 2 cups all-purpose flour
- 1 1/2 cups granulated sugar
- 2 teaspoons cinnamon
- 1/2 teaspoon salt
- 12 tablespoons (1 1/2 sticks) unsalted butter (melted)
How to Make Pumpkin Crisp
Step 1: Preheat the Oven
Preheat your oven to 375°F. Butter your 12-inch cast iron skillet or medium casserole dish thoroughly, ensuring it’s ready for the batter.
Step 2: Prepare the Pumpkin Filling
In a large bowl:
1. Whisk together the pumpkin puree, sugar, eggs, pumpkin pie spice, salt, and vanilla extract until well combined.
2. Gradually whisk in the heavy cream until smooth.
3. Pour this mixture into your prepared skillet.
Step 3: Make the Streusel Topping
In a separate medium bowl:
1. Combine the flour, sugar, cinnamon, and salt.
2. Add the melted butter and mix with a fork until crumbly. You may use a hand mixer if desired.
3. Evenly spread this streusel topping over the pumpkin filling.
Step 4: Bake to Perfection
Place your skillet in the preheated oven:
1. Bake for about 40 to 45 minutes or until the filling is set and the topping is golden brown.
2. If needed, cover with foil if browning too quickly.
Step 5: Cool and Serve
Allow it to cool for about 10 minutes before serving:
1. This cooling time helps firm up the filling.
2. Enjoy warm with ice cream or whipped cream on top! For an extra treat, try pairing it with cinnamon ice cream if available!
How to Serve Pumpkin Crisp
Pumpkin Crisp is a delightful dessert that can be enjoyed in various ways. Whether served warm or chilled, there are countless ways to enhance its delicious flavors. Here are some creative serving suggestions.
With Ice Cream
- Vanilla Ice Cream: A classic pairing that complements the pumpkin flavor beautifully.
- Cinnamon Ice Cream: Adds an extra layer of spice and warmth that enhances the dish.
- Caramel Swirl Ice Cream: For those who love a sweet, rich twist on their dessert.
Topped with Whipped Cream
- Homemade Whipped Cream: Light and fluffy, it adds a creamy texture to each bite.
- Spiced Whipped Cream: Infusing whipped cream with cinnamon or nutmeg offers a festive touch.
As a Breakfast Treat
- Pumpkin Crisp Parfait: Layer pieces of pumpkin crisp with yogurt for a delicious breakfast option.
- Toast with Pumpkin Crisp: Spread a layer of crisp on toast, topped with cream cheese for a unique morning treat.
How to Perfect Pumpkin Crisp
To achieve the perfect Pumpkin Crisp, attention to detail is key. Follow these tips to elevate your dessert.
- Choose the Right Pumpkin Puree: Use high-quality pumpkin puree for the best flavor and texture.
- Don’t Overmix the Filling: Mix just until combined; overmixing can make the filling dense.
- Adjust Spice Levels: Feel free to add more pumpkin pie spice if you prefer a stronger flavor.
- Let It Cool Before Serving: Allowing the crisp to cool for 10 minutes lets the filling firm up nicely.
Best Side Dishes for Pumpkin Crisp
Pairing side dishes with your Pumpkin Crisp can create a balanced meal experience. Here are some great options:
- Pecan Pie: The nutty flavor pairs well with pumpkin and makes for a festive combination.
- Apple Cider Salad: A fresh salad with tart apples and nuts brings brightness to the meal.
- Roasted Brussels Sprouts: Their earthy flavors complement the sweetness of the pumpkin crisp.
- Creamy Mashed Potatoes: Rich mashed potatoes offer contrasting textures alongside dessert.
- Stuffed Acorn Squash: This hearty dish enhances autumn flavors and makes for a satisfying side.
- Gingerbread Cookies: Spice cookies bring additional warmth and sweetness to your table.
Common Mistakes to Avoid
When making Pumpkin Crisp, avoid these common mistakes to ensure a delightful dessert.
- Skipping the butter: Not using enough melted butter in the streusel can lead to a dry topping. Make sure to measure accurately for that perfect crumb.
- Overmixing the filling: Mixing the pumpkin pie filling too much can introduce air and affect texture. Stir until just combined for a smooth consistency.
- Not preheating the oven: Baking in a cold oven can result in uneven cooking. Always preheat your oven to 375°F before starting.
- Ignoring cooling time: Cutting into the crisp too soon can make the filling runny. Allow it to cool for at least 10 minutes before serving.
- Using cold ingredients: Cold eggs or cream can impact how well they blend into the filling. Let them sit at room temperature for better incorporation.
Storage & Reheating Instructions
Refrigerator Storage
- Store leftover Pumpkin Crisp in an airtight container for up to 3 days.
- For best flavor, cover with plastic wrap or foil before refrigerating.
Freezing Pumpkin Crisp
- Freeze Pumpkin Crisp for up to 2 months in an airtight container.
- To prevent freezer burn, wrap it tightly in plastic wrap before placing it in a container.
Reheating Pumpkin Crisp
- Oven: Preheat to 350°F and cover with foil. Heat for about 15-20 minutes until warmed through.
- Microwave: Place a slice on a microwave-safe plate and heat for 30-60 seconds, checking frequently.
- Stovetop: Use a skillet over low heat, covering it until warm, about 5-10 minutes.
Frequently Asked Questions
Here are some common questions about making Pumpkin Crisp.
What is Pumpkin Crisp?
Pumpkin Crisp is a delicious dessert that combines creamy pumpkin pie filling with a crunchy cinnamon streusel topping. It’s perfect for fall gatherings!
Can I make Pumpkin Crisp ahead of time?
Yes! You can prepare the filling and topping separately and assemble them just before baking. This makes it easier to serve fresh.
What can I serve with Pumpkin Crisp?
Pumpkin Crisp pairs wonderfully with ice cream, whipped cream, or even a drizzle of caramel sauce for added indulgence.
How do I store leftover Pumpkin Crisp?
Store leftovers in an airtight container in the refrigerator for up to three days, or freeze them for longer storage.
Final Thoughts
This Pumpkin Crisp is not only easy to make but also offers versatility. You can customize it by adding nuts or using different spices according to your taste preference. Enjoy this comforting dessert warm, and share it with family and friends—it’s bound to become a favorite!
Pumpkin Crisp
Indulge in the warm, comforting flavors of fall with this Pumpkin Crisp recipe. This delightful dessert features a creamy pumpkin filling layered beneath a crunchy cinnamon streusel topping. Perfect for gatherings, holidays, or cozy evenings at home, this easy-to-make treat is sure to impress your family and friends. Serve it warm with a scoop of vanilla ice cream or a dollop of whipped cream for an irresistible experience that captures the essence of autumn. With its simple preparation and delicious taste, Pumpkin Crisp is destined to become your go-to fall dessert!
- Prep Time: 15 minutes
- Cook Time: 45 minutes
- Total Time: 1 hour
- Yield: About 8 servings 1x
- Category: Dessert
- Method: Baking
- Cuisine: American
Ingredients
- 1 (15 oz) can pumpkin puree
- 1 cup granulated sugar
- 3 large eggs
- 2 teaspoons pumpkin pie spice
- 2/3 cup heavy cream
- 2 cups all-purpose flour
- 12 tablespoons unsalted butter (melted)
Instructions
- Preheat your oven to 375°F and butter a 12-inch cast iron skillet or medium casserole dish.
- In a large bowl, whisk together pumpkin puree, sugar, eggs, pumpkin pie spice, and vanilla extract until combined. Gradually whisk in heavy cream until smooth.
- Pour the pumpkin mixture into the prepared skillet.
- In a separate bowl, mix flour, sugar, cinnamon, and salt. Stir in melted butter until crumbly and evenly spread over the pumpkin filling.
- Bake for 40-45 minutes until the filling is set and the topping is golden brown. Let cool for about 10 minutes before serving.
Nutrition
- Serving Size: 1 slice (125g)
- Calories: 310
- Sugar: 24g
- Sodium: 220mg
- Fat: 16g
- Saturated Fat: 10g
- Unsaturated Fat: 5g
- Trans Fat: 0g
- Carbohydrates: 39g
- Fiber: 2g
- Protein: 4g
- Cholesterol: 70mg